Friday, July 29, 2011

Recent Finds

Despite my break from blogging, I've still been browsing the thrift shops this summer.  A few of my favorite finds at the moment...

A ceramic animal head at Salvation Army for $4.99.  I know, I know... It doesn't exactly scream chic (it's a little more southwestern now), but I think a few coats of high gloss white spray paint would have it back in shape.  And it was 5 bucks, who could say no to that?


And I've been seeing these everywhere recently, from West Elm ($20-$150) to Pinterest...

{via}

 {via}
 
{via}

I must admit that my first thought was how I'd love to put this in a baby boy's nursery.  Then my second thought was, too creepy for babies?  Pinterest to the rescue again...

{via}

{via}

Definitely used in nurseries before, so maybe not as creepy?  Jury is still out on this one...

Moving on.  I also found these framed puzzle pieces of North & South Carolina for less than $10.  I thought they looked vintage and fun.  Still deciding on whether the frame should get a bright coat of paint... Maybe orange?


Hoping to hit a few of my favorite spots this weekend to add more finds to the list...  Happy Friday!

Back to blogging

Hi friends! Anyone still out there?  Thanks for hanging around, while I took a month-long (oops!) break from blogging.

I've been doing a lot of this...


Taking a little time to relax & a little break from the projects around here... and of course, rethinking the direction of the blog and freshening things up on Wedded Whittaker.  Hopefully some good posts to come, including a few new recipes, home projects, and a big exterior home makeover in the fall!

Excited for more posts to come...

Tuesday, June 14, 2011

Sunroom Addition: Final Reveal

I have been SO behind on updating our sunroom progress!  For those you new to our blog, we started back in November with the idea of converting our covered back porch into a sunroom... And that idea grew into almost a complete room addition (you can read about our entire process)

I couldn't be happier with how it turned out!  And can't sing my husband's praises enough!  He built the entire room... planning, framing, wiring, putting up drywall, tiling the floors.  I still am amazed by how well he could do all of it!  We, of course, enlisted lots of great help from both our Dads, Jeff's brother, and lots of friends (especially from Amy's husband!)  Thank you to everyone who spent time helping us finish the room! 

So after a 5-month long process, we are finally done!  Well, done with construction... For those of you who know me, decorating is a definite iterative process (sorry, Jeff!)  Here is how it looks now...

Before:

After:

Before:

After:


One of my favorite elements in the room, the bead board ceiling....

Before:

After:

I wish I could capture on camera how much light this room lets into the kitchen and living room too, making the whole house feel much more open and inviting.  Definitely the perfect spot for entertaining, relaxing, or working at the desk.  Thanks to Jeff, this room is quickly becoming my favorite spot in the house!

What do you think?  What big projects have you tackled yourself?

Wednesday, June 8, 2011

Spring Project Updates: Living Room

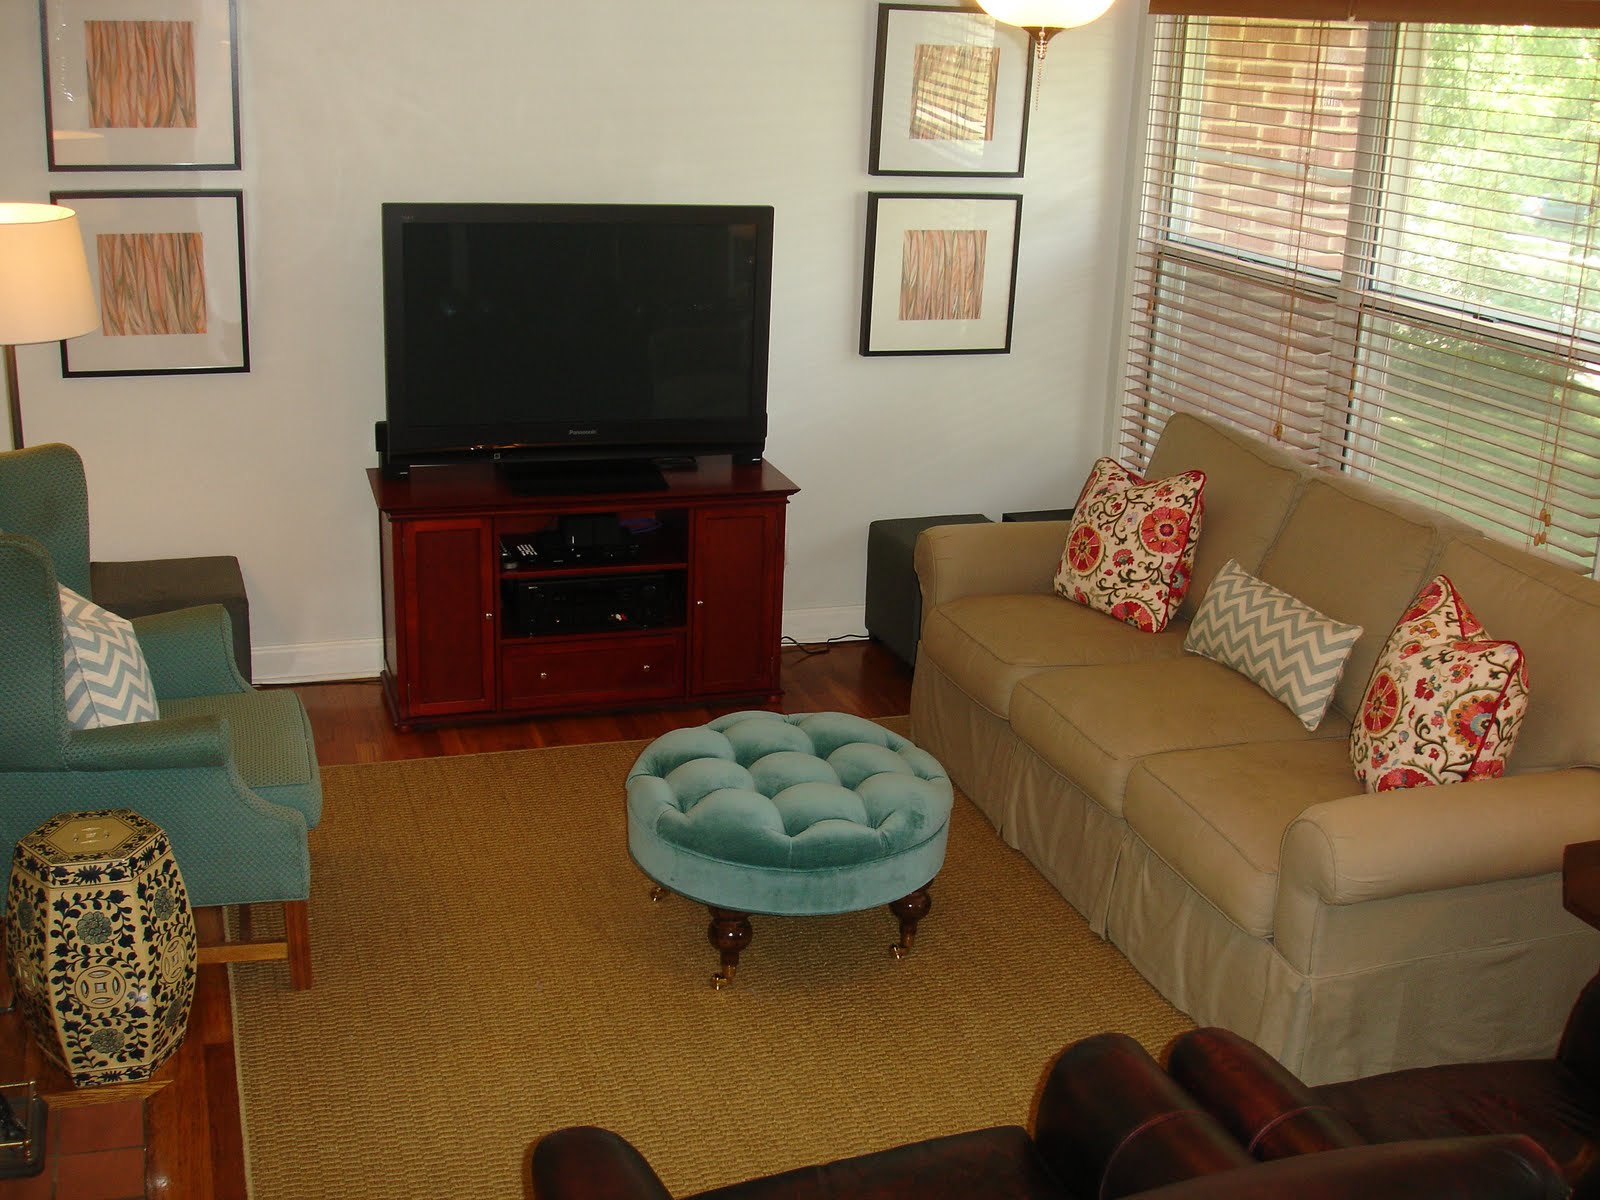
As I mentioned last week, I've been behind in posting all of our before & afters from the spring project marathon a couple months ago.  We've continued to make small and large tweaks to our living room.  In our ranch home, it's the room you walk straight into from the front door.  And the room where we spend the majority of our time.  So I think it feels extra important to me to get it right.

Check out our house tour button (still in progress) to see the earliest 'before' shots of our living room... It's thankfully come along way!


And for a glimpse into the most recent 'before'...


And After....


Not really a huge difference, but we just wanted to declutter and make the room feel more open.  So we swapped out the yellow love seat for a wing back chair we already owned.  Eventually, I'd like to get an off-white chair to replace it with, just to break up the blue tones by the new ottoman. 

We also moved out the bookshelf and flanked the tv console with two gray ottomans, also already owned.  They're perfect for extra seating!  We had my family over a few weeks ago, and everyone had a seat in the living room.

We also took the speakers off stands (finally!) and added some new artwork to the wall (post to come!)  I also splurged a lot a little and had the tufted ottoman made with my new favorite fabric.  It's on casters, which makes it perfect for when Jeff wants to pull it over to put his feet up & watch tv or when we put a tray on top to double as a coffee table.

Up next:  Hopefully mounting the tv to the wall (to level it with the frames), painting the tv console & swapping out the knobs, styling the mantel and finding a new side table...

For your blog roll

Exciting news!  My amazingly talented friend Sarah has just launched a new design blog!  She's currently an interior design student and has such a unique, eclectic style.

{right to left:  me, sarah, amy, shiva in nyc}

I'm so hopeful that her new blog will feature pictures and projects from her own home... In addition to chronicling her journey to open her own design business and store!

"I believe that design is a constantly changing process as it molds itself to suit and inspire our aesthetic as well as our conventional needs"

So without further ado, here is The Curator Collective!

Wednesday, May 25, 2011

Considering...

A few months ago, I picked up this campaign dresser for $25 at our local Goodwill.  Not bad for a full-size dresser and considering that a refinished campaign dresser was recently listed on our local Craigslist for $300!


It's in need of some love, so I planned to give it a coat of paint and call it a day.  Similar to these...


{images via Lonny}

{source unknown}

But I've done painted furniture before (best instructions I've found for painting coming soon!)  And for some reason, I'm feeling a little over the painted campaign dresser.  So I'm considering going a different way...

{via Bryn}


Surprisingly, I'm leaning towards staining the dresser a dark shade.  I wonder how difficult it would be to sand down and restain the dresser myself... Has anyone tried this before?  Any tips to share?

Monday, May 23, 2011

Recovering Kitchen Chairs

I debated recovering our kitchen chairs for a while... On one hand, I loved that the upholstery appeared to be original to the 1970s Henredon chairs (snagged for a major deal at Sleepy Poet about two years ago).  On the other hand, they were really starting to show their age.

The construction zone that was our house for 5 months, during the sunroom addition, answered the question for me.  All of the dust certainly did no favors for the wear & tear of the chairs... So recovering was a go!

I hit up Mary Jo's (one of my favorite weekend spots) and found this perfect-shade-of-gray linen fabric for the chairs.


I also picked up some batting to fill out the seats.  The original plan was to remove the entire old fabric, add batting, and recover.  A few too many original staples sent me the easy way out...

We unscrewed the base of the seat from the frame, cut pieces of batting to the same size as the seat, and cut the fabric a few extra inches wider than the seat (allowing for enough extra fabric to staple down).

Then we laid the batting over the top of each seat, covered with the fabric, and stapled to the bottom with a staple gun (with one of us pulling the fabric tightly and the other stapling down).  We stapled once around the seat, then went back and stapled even closer together.

For the corners, we folded the edges (like wrapping a present) so that the front would appear flat and the only folded edge would be off to the side.


Then we cut away any excess fabric and re-attached the seats.  For a refreshed final result...


It was so much easier than I thought!  One Friday night (I know, we're so fun) and the project was done!  Have you ever done a DIY reupholstery project?  How did it turn out?